
Nowadays, there are so many products of hamilton beach yogurt maker instructions in the market and you are wondering to choose a best one.You have searched for hamilton beach yogurt maker instructions in many merchants, compared about products prices & reviews before deciding to buy them.
You are in RIGHT PLACE.
Here are some of best sellings hamilton beach yogurt maker instructions which we would like to recommend with high customer review ratings to guide you on quality & popularity of each items.
49,222 reviews analysed

Hamilton Beach 68330N 4-Quart Automatic Ice-Cream Maker,Cream
- Ice-cream maker produces up to 4 quarts in 20 to 40 minutes
- Fully automatic operation–no labor-intensive stirring required ,it does all the work and stops when ready
- Makes homemade ice cream, frozen yogurt, custard, sherbet, and gelato
- Easy-lock lid
- hand wash
- user manual with 20 recipes included
- Measures approximately 15.3 x 12.5 x 11.1 inches
- 1-year limited warranty
Hamilton Beach 4 Quart Bucket Ice Cream Maker This is a new Hamilton Beach 4 Quart Bucket Ice Cream Maker Makes ice cream – frozen yogurt – custard – sherbet & gelato Fully automatic Over 20 recipes included Easy -Lock lid
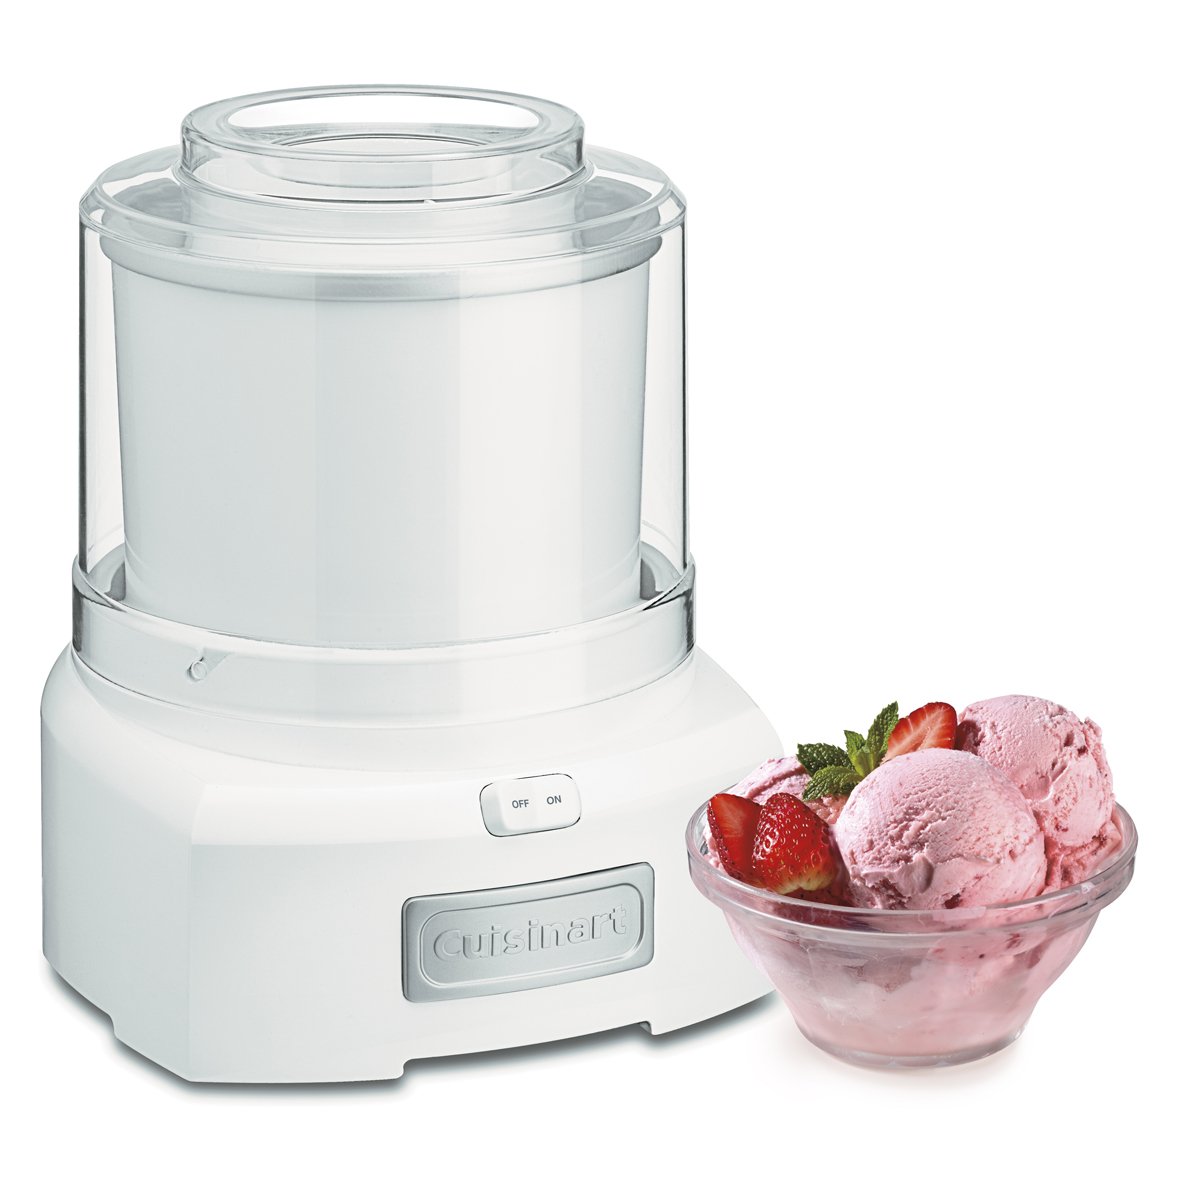
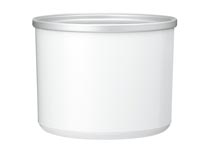
Cuisinart ICE-21 1.5 Quart Frozen Yogurt-Ice Cream Maker (White)
- New mixing paddle makes frozen desserts in 20 minutes or less
- Large capacity makes up to 1-1/2-quarts
- Double insulated freezer bowl eliminates the need for ice
- Easy lock transparent lid with large spout makes adding ingredients simple and mess free
- Product Built to North American Electrical Standards.Do not use oudoors
From the Manufacturer

Frozen Favorites in Minutes
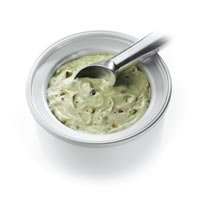
The heavy-duty motor makes frozen yogurt, ice cream, sorbet – even frozen drinks – in 20 minutes or less.
Pure and Simple Indulgence
Add fresh ingredients to the mixing bowl, turn on the machine, and go. It’s fully automatic. Plus, cleanup is a breeze.
Perfectly Delicious
The large capacity mixing bowl lets you make up to 1-1/2 quarts of your favorite smooth and creamy frozen treats.
Features and Benefits
- Ingredient Spout Pour recipe ingredients through the spout. Also use to add ingredients, like chips or nuts, without interrupting the freezing cycle.
- Easy-lock Lid Transparent to let you watch the freezing process as it progresses. Lid is designed to easily lock to base.
- Mixing Paddle Mixes and aerates ingredients in freezer bowl to create frozen desserts or drinks.
- Freezer Bowl Contains cooling liquid within a double insulated wall to create fast and even freezing. Double wall keeps the bowl cool and at an even temperature.
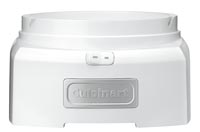
- Base Contains heavy duty motor strong enough to handle ice cream, frozen yogurt, sherbet, sorbet and frozen drinks.
- Rubber Feet Nonslip feet keep base stationary during use.
- Cord Storage Unused cord is easily pushed into the base to keep counter neat and safe.
Freezing Time and Bowl Preparation
The freezer bowl must be completely frozen before you begin your recipe. Before freezing, wash and dry the bowl. The length of time needed to reach the frozen state depends on how cold your freezer is. It is recommended that you place the freezer bowl in the back of your freezer where it is the coldest. Be sure to place the freezer bowl on a flat surface in its upright position for even freezing.
Generally, freezing time is between 16 hours and 24 hours. Shake the bowl to determine whether it is completely frozen. If you do not hear the liquid within the bowl moving, the cooling liquid is therefore frozen. For the most convenient frozen desserts and drinks, leave your freezer bowl in the freezer at all times. Use the bowl immediately after removing from the freezer. It will begin to quickly defrost once it has been removed for the freezer.
Reminder: Your freezer should be set to 0°F to ensure proper freezing of all foods.
Making Frozen Desserts or Drinks
- Use Cuisinart recipes included in the Instruction Booklet or use your own recipe, making sure it yields 1-1/2 quarts or less.
- Remove the freezer bowl from the freezer and place on the center of the base. The bowl will begin to defrost quickly once it has been removed from the freezer. Use it immediately after removing from freezer.
- Place mixing paddle in freezer bowl. It rests in the center of the bowl, with the circle side facing up.
- Place lid on the base and rotate clockwise until tabs on lid lock in place on base.
- Press On/Off switch to ON position. Freezer bowl will begin to turn.
- Immediately pour ingredients through ingredient spout. NOTE: Ingredients must be added to the freezer bowl after the unit is turned on.
- Frozen desserts or drinks will be done in less than 20 minutes. The time will depend on the recipe and volume of the dessert you are making. When the mixture has thickened to your liking, it is done. If you desire a firmer consistency, transfer the dessert to an airtight container and store in the freezer for two or more hours.
Adding Ingredients
Ingredients such as chips and nuts should be added about 5 minutes before the recipe is complete. Once the dessert has began to thicken, add the ingredients through the ingredient spout. Nuts and other ingredients should be no larger than a chocolate chip.
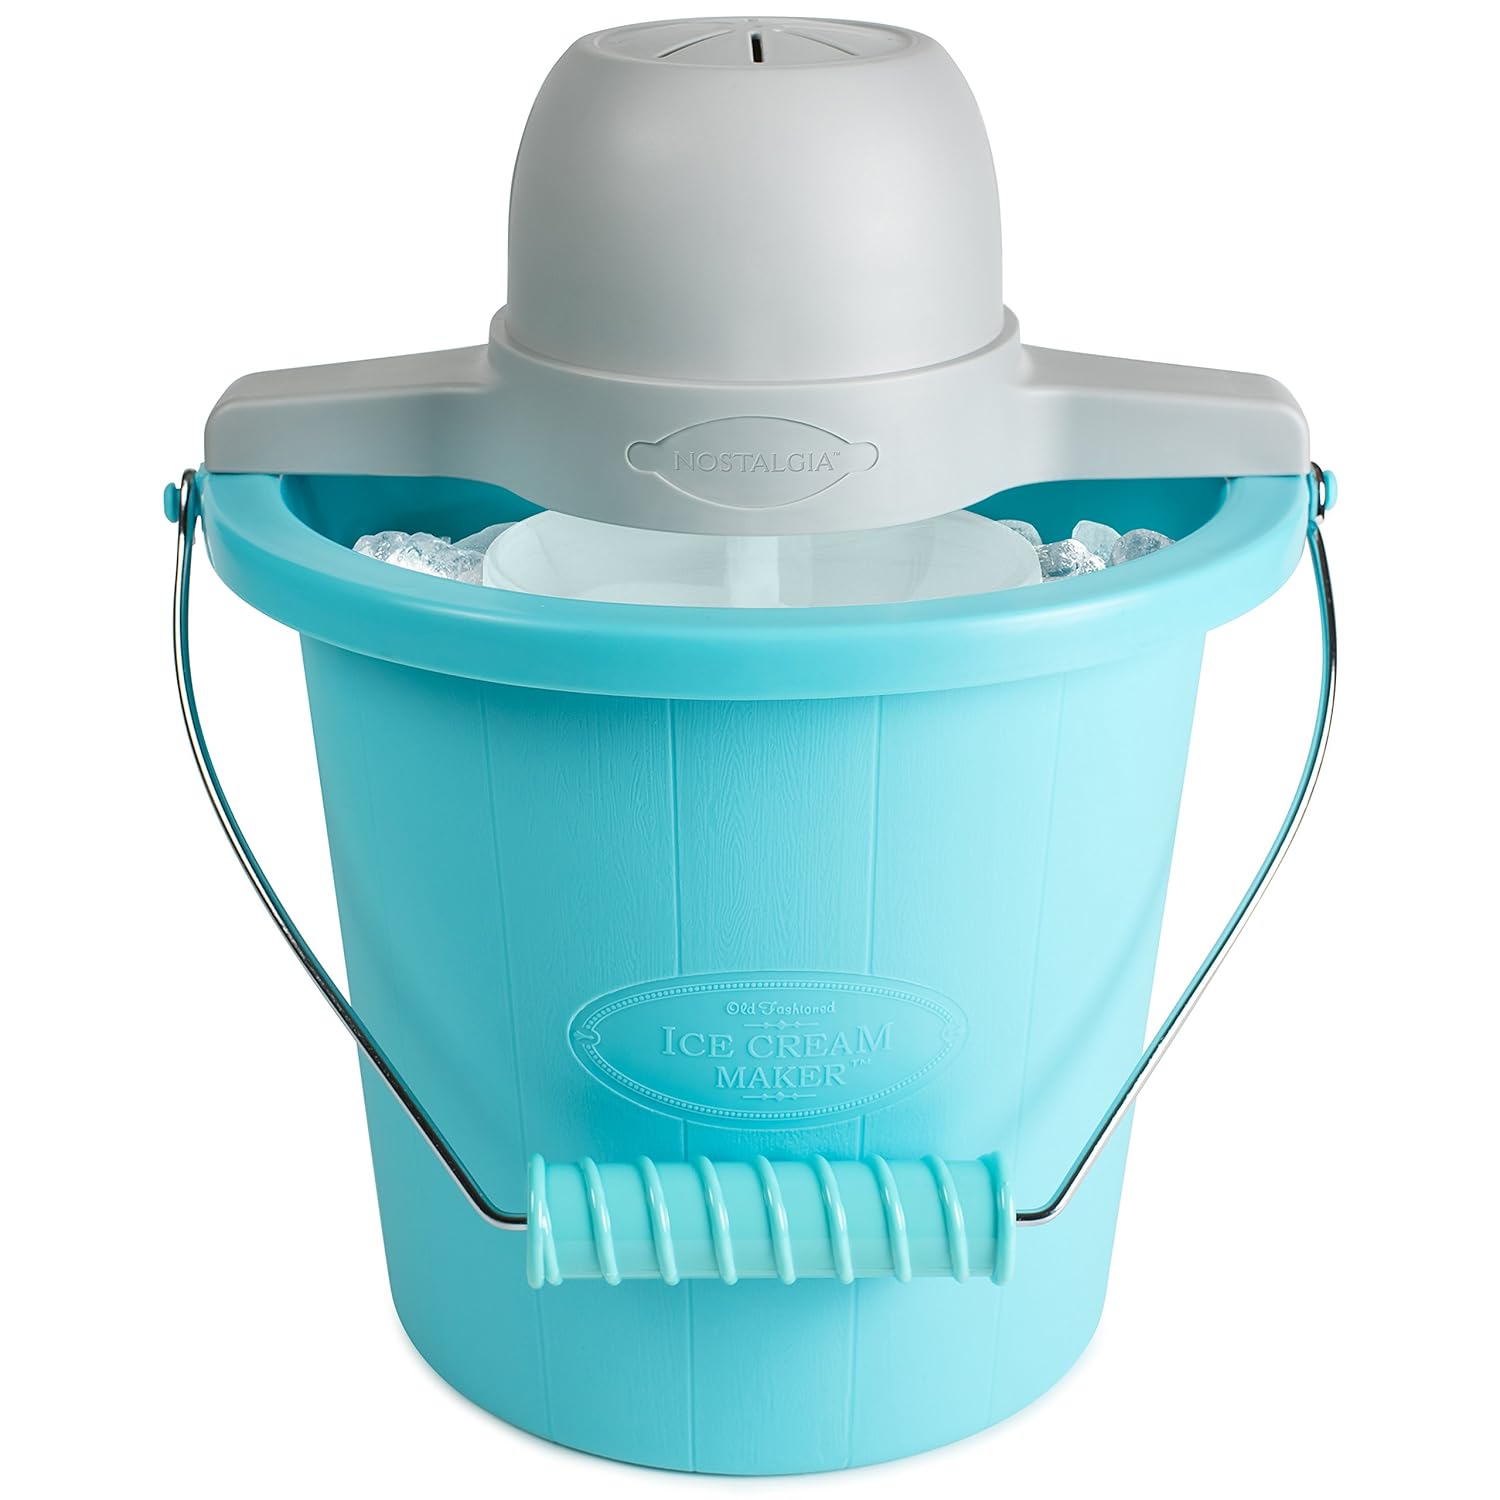
Nostalgia ICMP400BLUE 4-Quart Electric Ice Cream Maker with Easy Carry Handle
- Works best with Nostalgia Ice Cream Mixes: Try the creamy French Vanilla (ICP825VAN8PK), indulgent Chocolate (ICP825CHOC8PK), or the refreshingly sweet flavor of Strawberry (ICP825STRAW8PK)
- Easy-to-clean plastic bucket
- See-thru lids for easy viewing and freezer storage
- Convenient carrying handle
- Powerful electric motor does all the churning – no manual effort!
- Motors locks into place keeping all parts secure
- Recipes included in manual. BPA free
The fast and easy way to make 4-quarts of ice cream, frozen yogurt, or gelato. This unit features a locking motor mount, easy-to-clean plastic bucket and 4-quart aluminum canister. Simply add your ingredients into the aluminum canister, place in the middle of the bucket, layer with ice and salt, and let the electric motor do the rest. Soon you will have wonderful homemade ice cream. Customize each recipe by adding extras, like strawberry preserves, cookie dough, candy pieces and more. When done, use the included lid and lid cap to store leftover ice cream in the freezer.
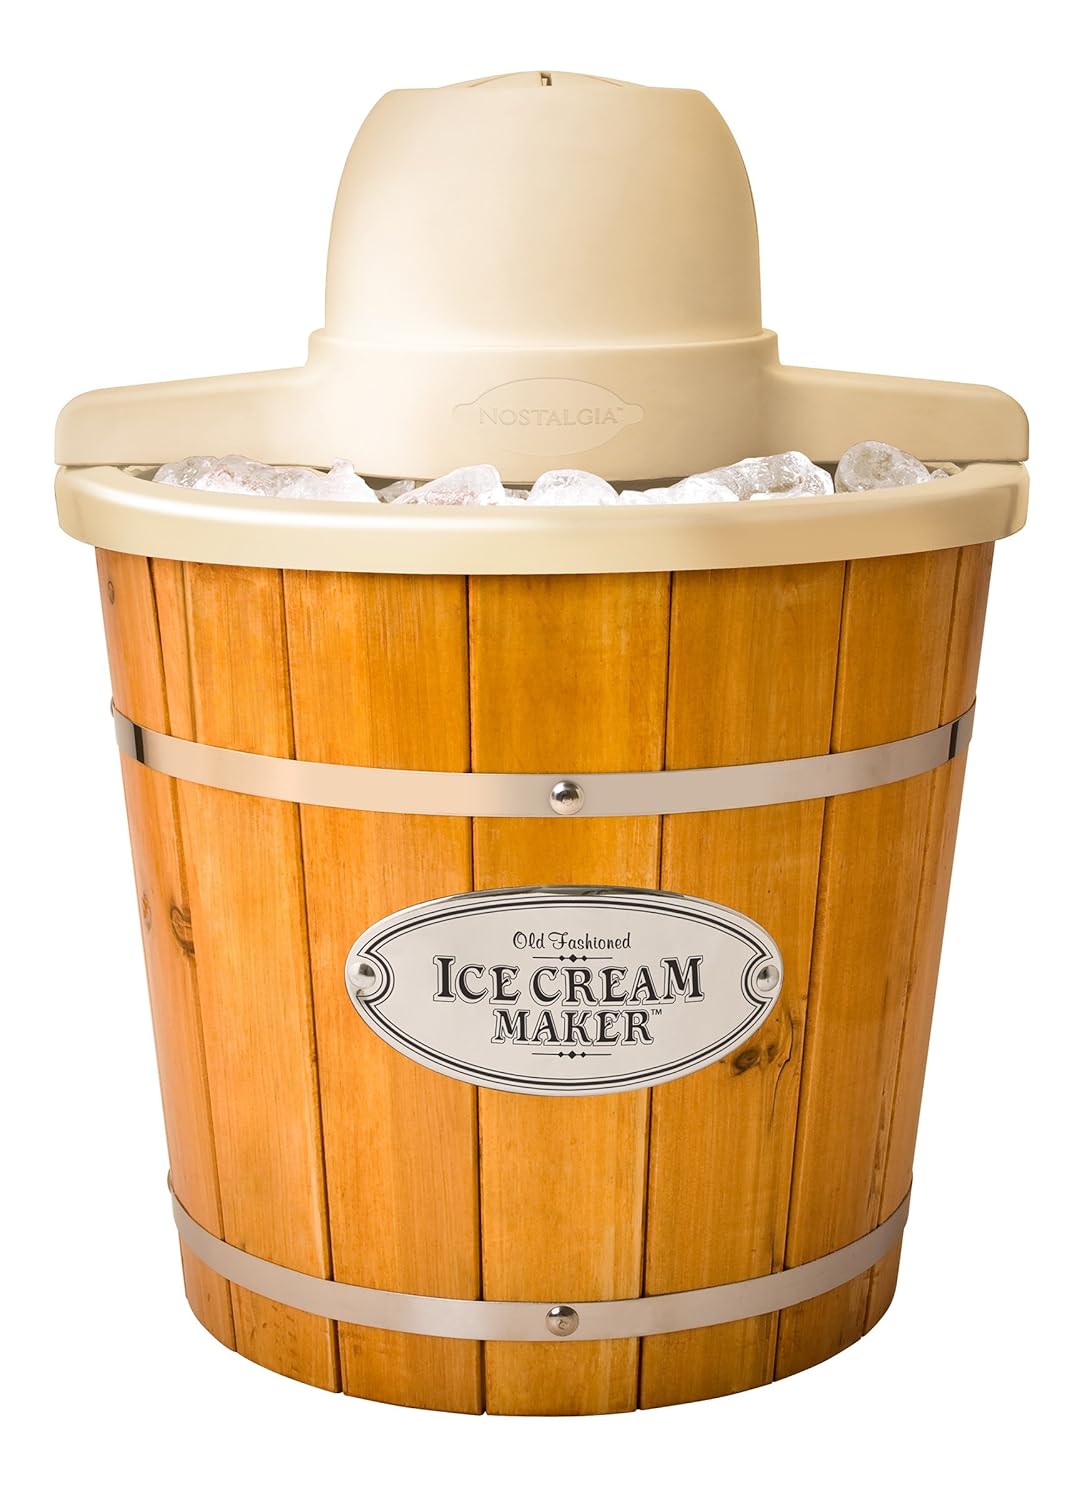
Nostalgia ICMP400WD Electric Wood Bucket Ice Cream Maker, 4-Quart Brown
- Makes 4-quarts of delicious ice cream, frozen yogurt or gelato
- Perfect for use with all Nostalgia Ice Cream Mixes! (French Vanilla – ICP825VAN8PK, Chocolate – ICP825CHOC8PK, Strawberry – ICP825STRAW8PK)
- Easy-to-clean plastic liner
- See-thru lid for easy viewing and freezer storage
- Powerful electric motor does all the churning – no manual effort!
- Motor locks into place keeping all parts secure
- Real wood construction
- Recipes included in manual.BPA free
Reminiscent of the old fashion ice cream makers of the past, this unit is a fast and easy way to make 4-quarts of ice cream, frozen yogurt, or gelato. It features a locking motor mount, easy-to-clean bucket and a 4-quart aluminum canister. Simply add your ingredients into the aluminum canister, place in the middle of the bucket, layer with ice and salt and allow the electric motor do the rest. The durable churn paddle produces delicious creamy homemade ice cream, while the easy-clean plastic liner provides easy cleanup. Customize each recipe by adding extras like strawberry preserves, cookie dough, candy pieces and much more. When done, use the included lid and lid cap to store leftover ice cream in the freezer.
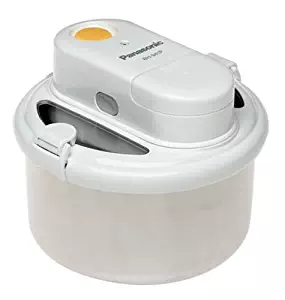
Panasonic BH-941P Ice Cream Maker
- Battery-operated ice cream maker for use in the freezer
- Cordless for easy use
- includes step-by-step instructions and recipes
- Dual-fin paddle for thorough and continuous mixing
- Makes 1.5 pints (about 3 cups) of ice cream or sorbet
- Measures 5-1/4 inches high and 6-1/2 inches in diameter
Product Description
Panasonic BH-941P, battery operated, 1.5 pint capacity. Makes delicious ice cream in 3 easy steps. Works automatically in the freezer.
Amazon.com
Tidy, cordless, and easy to put into action, this Panasonic ice cream maker is a refreshing alternative to its hulking all-in-one countertop cousins. Though it requires more steps than the models where you throw in ingredients and go, this little maker is both smart and efficient, making up to 3 cups of ice cream or sorbet in a few hours. Combining a stainless steel bowl and a battery-powered mixing unit, the appliance features a dual-fin stirring spatula to thoroughly mix ingredients during freezing. A microprocessor gauges the consistency of the dessert as it hardens, so no monitoring is necessary. The battery pack is compact and removable, and the other components feel sturdy and well designed.
Included with the ice cream maker is a clear step-by-step instruction guide and a colorful booklet of recipes to get you started. Most of these require mixing or beating of ingredients before placement in the freezer bowl, but the labor is far from intensive. Once ingredients are ready, simply turn on the power, put the bowl in the freezer, and come back in 3 to 5 hours. Impressively compact for easy storage, the ice cream maker measures just 5-1/4 inches high and 6-1/2 inches in diameter. Panasonic includes a one-year warranty. –Emily Bedard
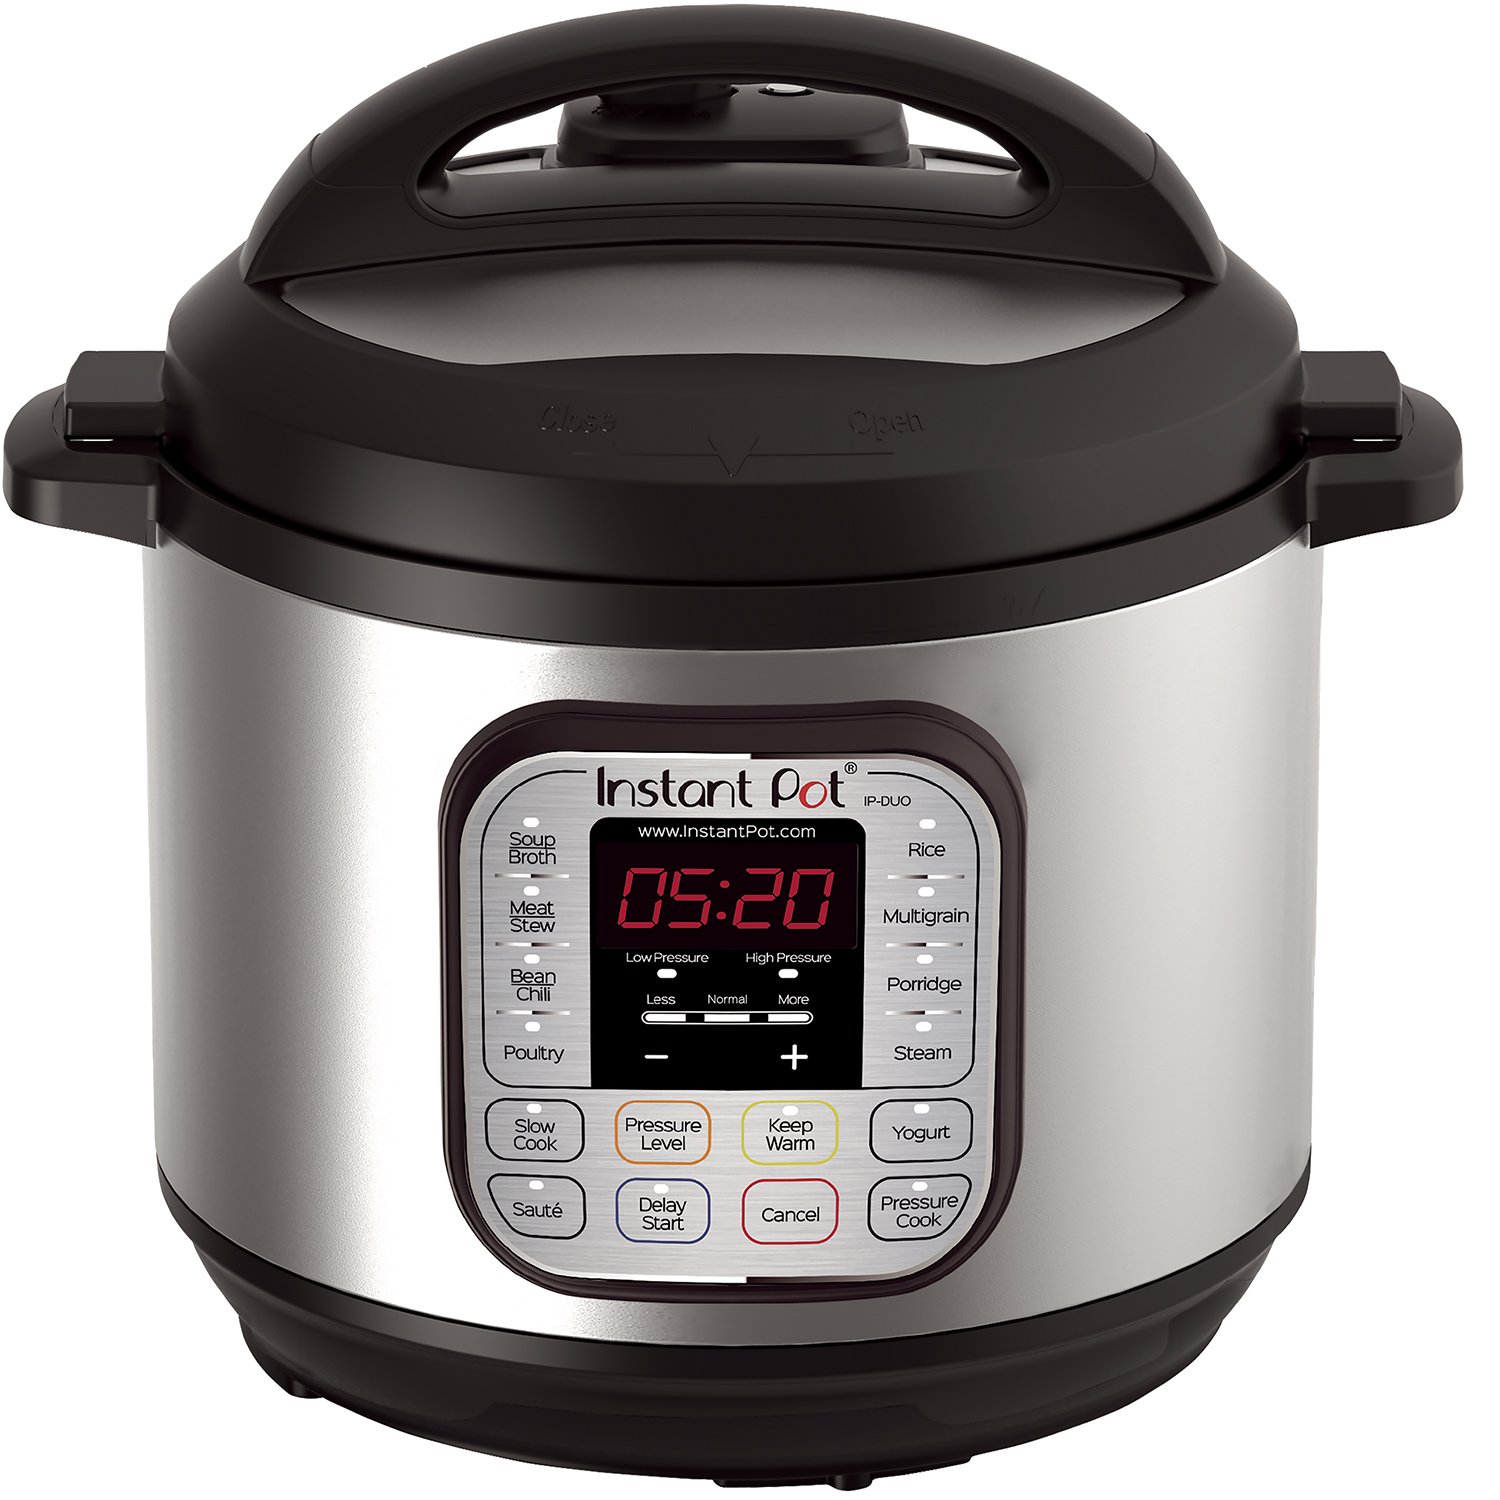
Instant Pot DUO80 8 Qt7-in-1 Multi- Use Programmable Pressure Cooker, Slow Cooker, Rice Cooker, Steamer, Sauté, Yogurt Maker and Warmer
- Duo 8 Quart, the number 1 selling multi-cooker, combines 7 kitchen appliances in 1, Pressure Cooker, Slow Cooker, Rice Cooker, Steamer, Sauté, Yogurt Marker and Warmer, prepares dishes up to 70% faster to support your busy lifestyle
- Features 14 Smart Programs – Soup, Meat/Stew, Bean/Chili, Poultry, Sauté/Simmer, Rice, Multigrain, Porridge, Steam, Slow Cook, Keep Warm, Yogurt, Manual, and Pressure Cook. Now, your favorite dishes are as easy as pressing a button
- Healthy, stainless steel (18/8) inner cooking pot made from food grade 304, no chemical coating, 3-ply bottom for even heat distribution, fully sealed environment traps the flavours, nutrients and aromas within the food
- Built with the latest 3rd generation technology, the microprocessor monitors pressure, temperature, keeps time, and adjusts heating intensity and duration to achieve your desired results every time
- UL and ULC certified with 10 safety mechanisms to provide you with added assurance, designed to eliminate many common errors
- Accessories include stainless steel steam rack with handles, rice paddle, soup spoon, measuring cup, condensation collector and recipe booklet
- Power supply: 120V – 60Hz
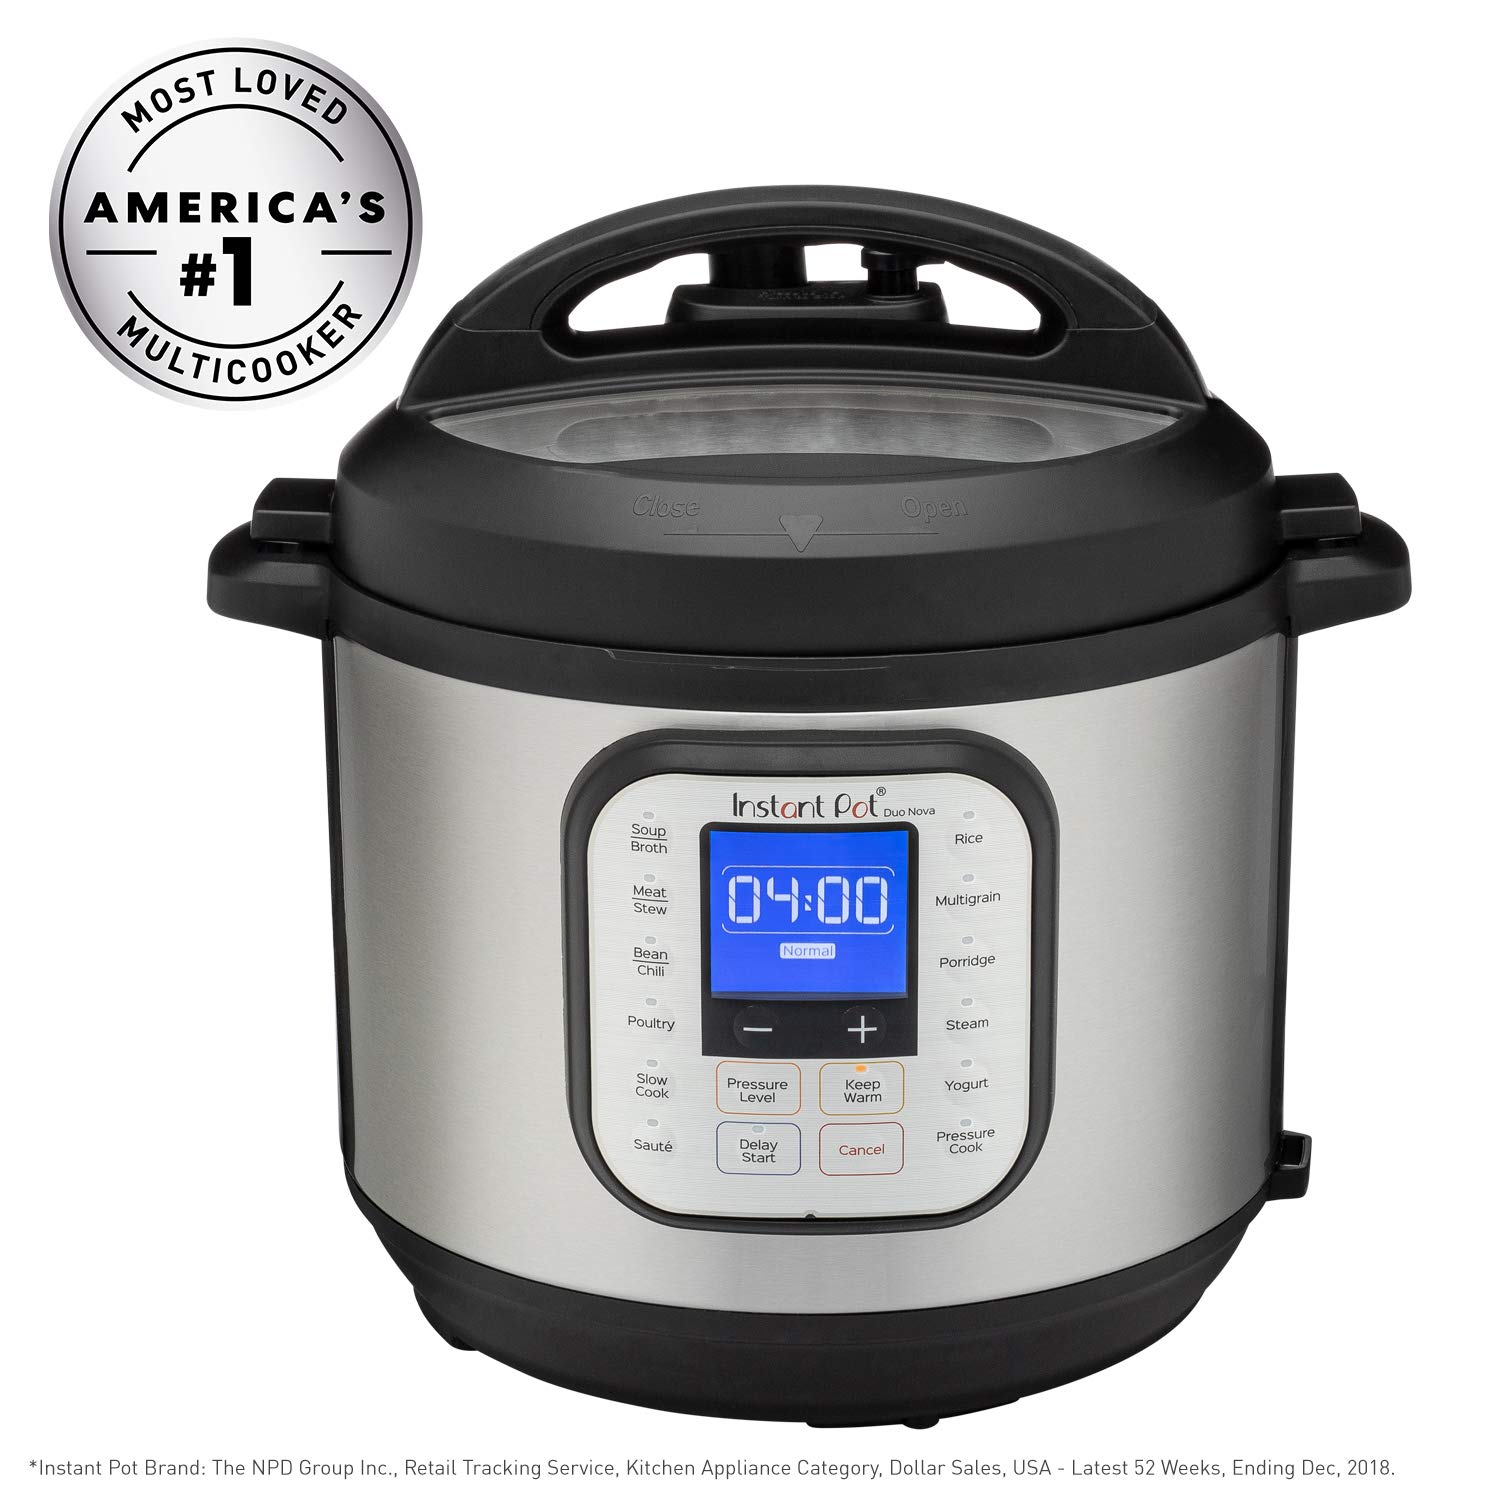
Instant Pot® Duo™ Nova™ 6-Quart 7-in-1, One-Touch Multi-Use Programmable Pressure Cooker, Slow Cooker, Rice Cooker, Steamer, Sauté, Yogurt Maker and Warmer with New Easy Seal Lid
- Time and Space Saver: The 2019 edition Instant Pot Multi-Cooker combines 7 Appliances in one: pressure cooker, slow cooker, rice cooker, steamer, sauté pan, yogurt maker and warmer – and cooks up to 70% faster
- Clear, Simple Controls: 14 one-touch smart programs put cooking ribs, soups, beans, rice, poultry, yogurt, desserts and more on autopilot – with delicious results
- Big Capacity: Instant Pot’s 6-quart large capacity cooks for up to 6 people – perfect for families, but also great for meal prepping and batch cooking for singles and smaller households
- Smart Steam Release: the new easy-seal lid automatically seals your Instant Pot to keep flavors, nutrients and aromas sealed inside. The 10+ built-in safety features, including Overheat protection, safety lock and more, ensure safe pressure cooking. And the new progress indicator lets you know when your Instant Pot is coming to pressure and when the cooking cycle begins
- Durable Inner Pot: The Instant Pot stainless steel inner pot is made with a 3-ply bottom for durability and is healthy and dishwasher-safe
- Accessories Included: steam rack with handles and an extra sealing ring
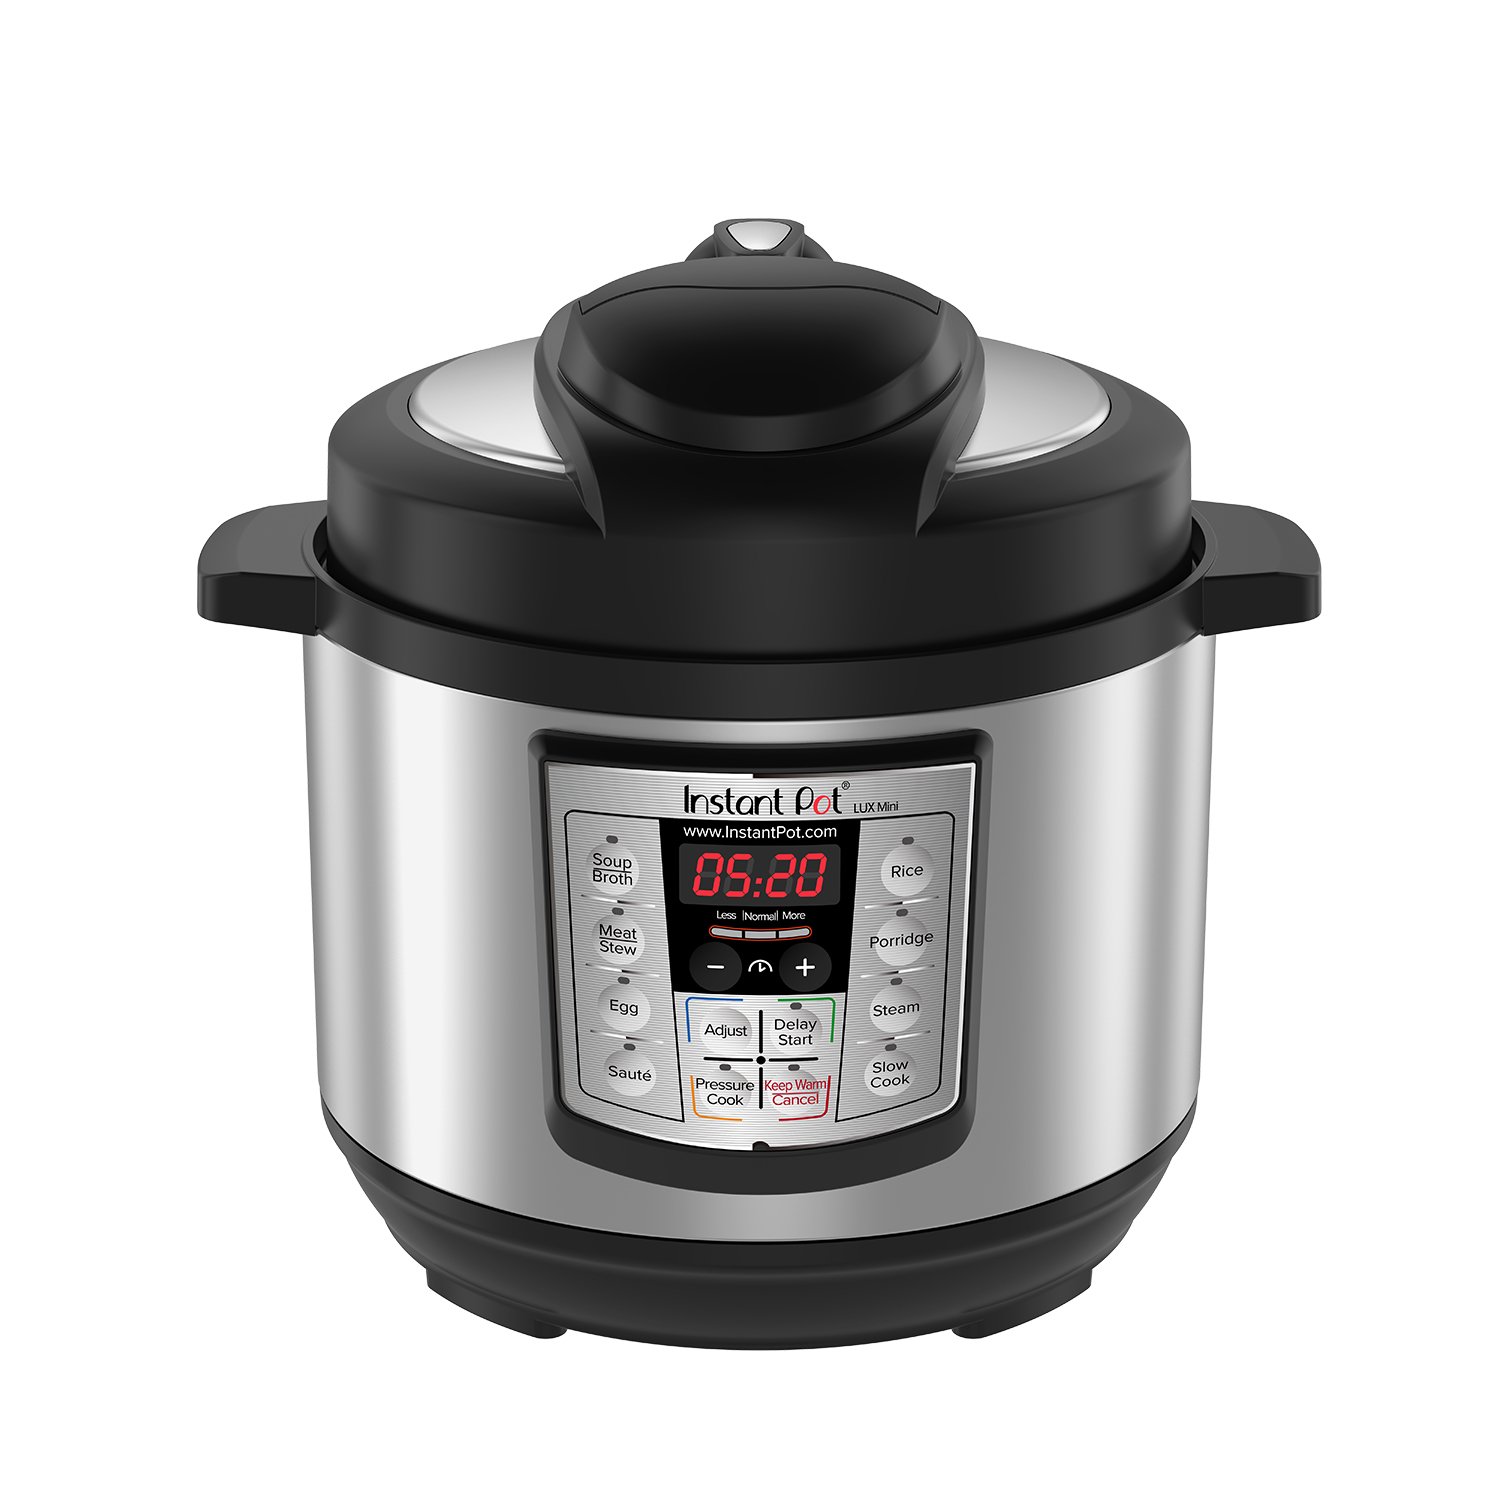
Instant Pot LUX Mini 3 Qt 6-in-1 Multi- Use Programmable Pressure Cooker, Slow Cooker, Rice Cooker, Sauté, Steamer, and Warmer
- Instant Pot Lux 3 qt multi-cooker, combines 6 kitchen appliances in 1, Pressure Cooker, Slow Cooker, Rice Cooker, Sauté, Steamer, and Warmer, prepares dishes up to 70% faster to support your busy lifestyle
- Built with the latest 3rd generation microprocessor technology, up to 240 minutes pressure-cooking up to 24 hours delay start, automatic Keep Warm up to 10 hours, 3 temperatures in Saute & Slow Cook
- Healthy, stainless steel (18/8) inner cooking pot made from food grade 304, no chemical coating, 3-ply bottom for even heat distribution, fully sealed environment traps the flavors, nutrients and aromas within the food
- Power supply: 120V – 60Hz
Instant Pot Lux mini is the ideal companion to the Instant Pot Lux 60 and Lux 80, it combines 6 appliances in 1 including: pressure cooker, slow cooker, rice cooker, saute, steamer, and warmer. 10 smart built-in programs – soup/broth, meat/stew, steam, egg, saute, rice, porridge, keep warm, pressure cook and slow cook your favorite dishes are as easy as pressing a button. The Instant Pot Lux mini rice cooker function cooks up to 6 Cups of uncooked rice (12 Cups cooked rice). the Lux mini is versatile it can be used at home to make a small dish for two, side dish or while traveling such as camping, traveling by RV, boating, Sailing, or hotel excursions etc.. a 24-hour delay start timer for delayed cooking is great for busy families allowing you to have your food ready when you get home from a busy day at work. Automatic keep warm holds the temperature of the dish until you serve. The Lux mini is the perfect digital multi-use programmable slow cooker, pressure cooker to have as a companion to the Lux 60 or 80.
Conclusion
By our suggestions above, we hope that you can found Hamilton Beach Yogurt Maker Instructions for you.Please don’t forget to share your experience by comment in this post. Thank you!
Our Promise to Readers
We keep receiving tons of questions of readers who are going to buy Hamilton Beach Yogurt Maker Instructions, eg:
- What are Top 10 Hamilton Beach Yogurt Maker Instructions for 2020, for 2019, for 2018 or even 2017 (old models)?
- What is Top 10 Hamilton Beach Yogurt Maker Instructions to buy?
- What are Top Rated Hamilton Beach Yogurt Maker Instructions to buy on the market?
- or even What is Top 10 affordable (best budget, best cheap or even best expensive!!!) Hamilton Beach Yogurt Maker Instructions?…
- All of these above questions make you crazy whenever coming up with them. We know your feelings because we used to be in this weird situation when searching for Hamilton Beach Yogurt Maker Instructions.
- Before deciding to buy any Hamilton Beach Yogurt Maker Instructions, make sure you research and read carefully the buying guide somewhere else from trusted sources. We will not repeat it here to save your time.
- You will know how you should choose Hamilton Beach Yogurt Maker Instructions and What you should consider when buying the Hamilton Beach Yogurt Maker Instructions and Where to Buy or Purchase the Hamilton Beach Yogurt Maker Instructions. Just consider our rankings above as a suggestion. The final choice is yours.
- That’s why we use Big Data and AI to solve the issue. We use our own invented, special algorithms to generate lists of Top 10 brands and give them our own Scores to rank them from 1st to 10th.
- You could see the top 10 Hamilton Beach Yogurt Maker Instructions of 2020 above. The lists of best products are updated regularly, so you can be sure that the information provided is up-to-date.
- You may read more about us to know what we have achieved so far. Don’t hesitate to contact us if something’s wrong or mislead information about Hamilton Beach Yogurt Maker Instructions.


